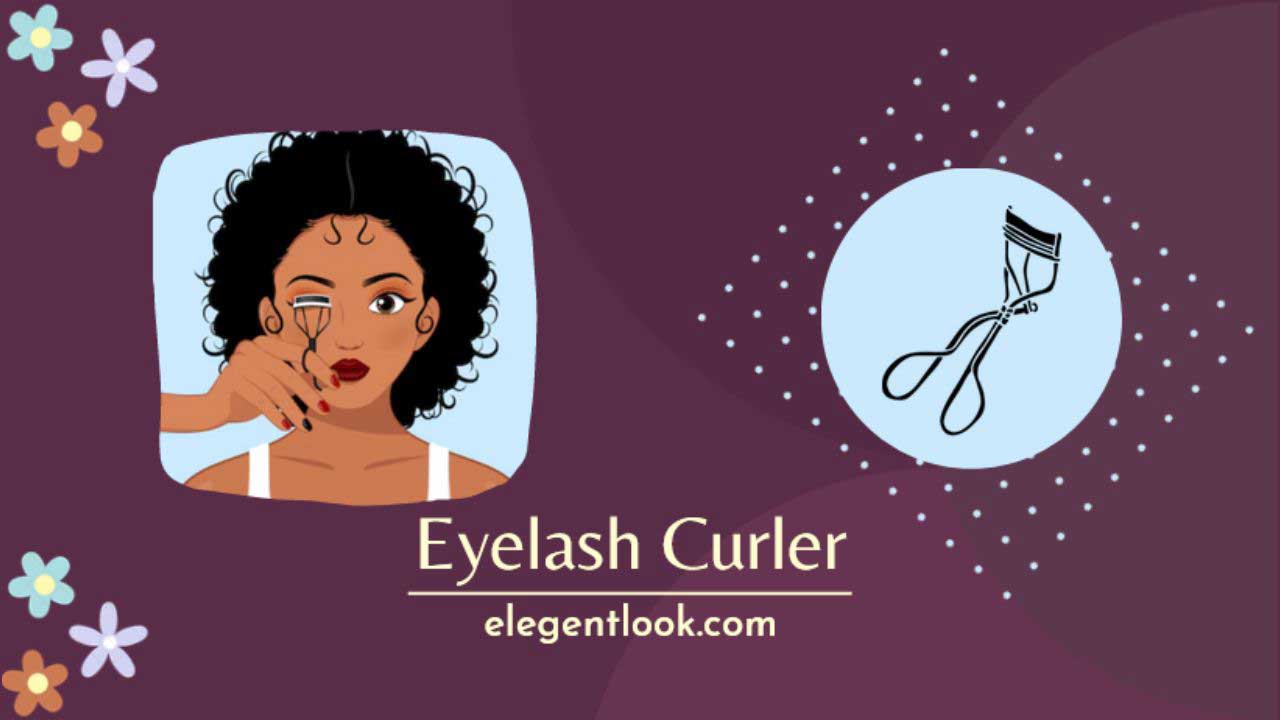
Curling your eyelashes is a simple way to open up your eyes and make them look brighter. It only takes a few seconds, and it’s a great way to finish putting your makeup on. There are a few different ways to curl your lashes, but the most common is with an eyelash curler.
If you’ve ever wondered how to get those perfect curls in your lashes is all about, read on to learn everything you need to know about using an eyelash curler. In this article, I’ll discuss about the below topics:
-What is the eyelash curler
– How to use an eyelash curler
– Benefits of using an eyelash curler
– Which type of eyelash curler is best for you
– tips about lash curler
What is eyelash curler?
An eyelash curler is a small hand-held device that is used to curl eyelashes. The curler consists of a metal frame with a silicone or rubber pad. The lashes are inserted into the metal frame and the curler is squeezed shut for a few seconds to curl the lashes.
How to use an eyelash curler ?
The first step is to find an eyelash curler that fits your eye shape. There are different types of curlers on the market, so it’s important to choose one that will work best for you. For example, if you have small eyes, you’ll want to use a smaller curler. If you have hooded eyelids, you’ll want to choose a curler that has a curved shape.
Once you’ve found the proper curler, the next step is actually to curl your lashes. Start by placing the curler at the base of your lashes and gently pressing down for about 10 seconds. Then, release the pressure and move the curler up slightly and press down again. Repeat this process until you’ve reached the tips of your lashes.
Benefits of using an eyelash curler:
There are a few benefits to using an eyelash curler. Curling your lashes can make them look longer, which can make your eyes look bigger and more awake.
It can also help your mascara go on more evenly and prevent it from clumping. Additionally, curled lashes tend to hold their shape better throughout the day, so you don’t have to worry about touch-ups.
Which type of eyelash curler is best for you?
As I mentioned, there are different types of eyelash curlers on the market. If you’re not sure which one to choose, here’s a quick overview of the most popular types:
-Standard eyelash curler: This is the most basic type of eyelash curler. It’s a good choice for beginners or those with small eyes.
-Heated eyelash curler: This curler uses heat to curl lashes. It can give your lashes a more long-lasting curl, but it’s important to be careful not to burn your skin.
-Magnetic eyelash curler: This curler uses magnets instead of heat or pressure to curl lashes. It’s a good choice for those with sensitive skin or who are worried about damaging their lashes. No matter which type of eyelash curler you choose, make sure to read the instructions carefully and start with a small amount of pressure until you get used to the device
5 Tips About Lash Curler:
Here are five tips for getting the most out of your lash curler!
1) Always curl your lashes before applying mascara. This will help hold the curl all day long.
2) Curl your lashes in both directions to get the most lift. Curl them towards your nose for a natural look, and away from your nose for a more dramatic effect.
3) If you have short or straight lashes, heat up your lash curler with a hair dryer for a few seconds before using it. This will help give you more curl.
4) Don’t apply too much pressure when curling your lashes – you don’t want to crimp them! Just lightly squeeze the curler shut and hold it against your lashes for about 10 seconds.
5) Wait until your mascara dries completely before curling your lashes again – otherwise, they’ll end up looking messy.
Follow these tips and you’ll be able to create big, beautiful curls that last all day long!
Conclusions:
If you want to add some curl and definition to your lashes, then an eyelash curler is a great tool to use. Just make sure to choose the right type of curler for your eye shape and be careful not to damage your lashes. With a little practice, you’ll be able to create gorgeous, long-lasting curls!
